Thursday, July 30, 2009

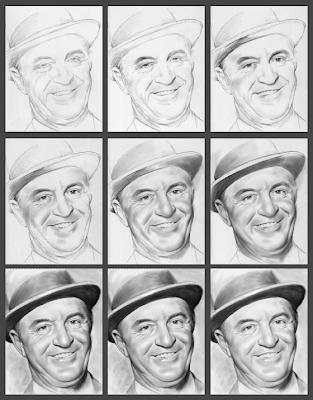
Step by Step - Sam Snead

Wednesday, January 28, 2009

Step Six: Create Outline


Using the carbon paper, I transfered the outlined image to my drawing paper.

Step Five: Create Carbon Paper


This is one of the easier ways that I have found to transfer a portrait image from a photograph to drawing paper. In this instance, I have used a LYRA graphite crayon (I use a 9B) to scribble an even coat of graphite on the back of the posterized image. The graphite needs to be more consistent, so I use tissue paper and rubbing alcohol to wipe it evenly.

Step Four: Use a Posterized Effect


I like to use a posterize effect in Photoshop on my photos
(especially when the highlights and shadows are subtle)

Step Three: Create a High Contrast B&W Photo


A high contrast B&W version of the color photo makes it a lot easier to see the values in the image. That is important for when you are shading/creating your pencil art image.

Step Two: Scan to Enlarge Photo


A good scan is important. A poor scan or vague photo results in poor detail.

Step One - Choose Your Photo


This photo happened to be very small -
Less than 1 inch, so it will have to be scanned in to get more detail.